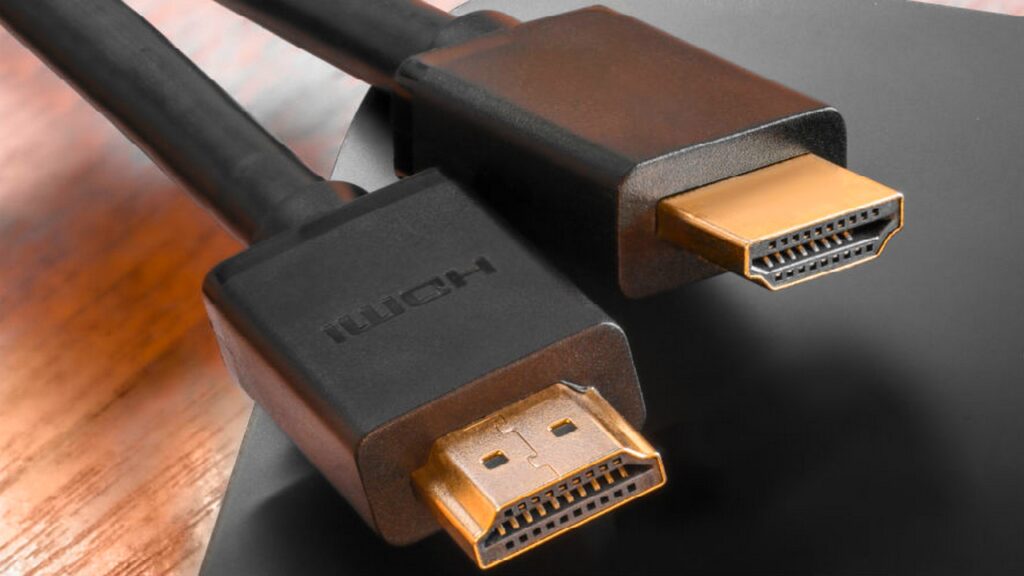
Many users connect their computers to other screens using HDMI connections. However, sometimes this doesn’t yield the desired results. Especially when it comes to ‘audio’, many people face problems. In this article, we will provide the answer to the question of how to fix the HDMI audio not working issue.
How to fix HDMI audio not working issue?
The solution to the problem that occurs in Windows 7, 8, and 10 operating systems is the same for all three systems. However, it is worth noting that Windows 10 users experience this problem more frequently. First of all, make sure you have selected the HDMI output for the audio device. Also, select HDMI audio output as the default.

To adjust the audio device, type ‘run’ in the search bar next to the Windows icon and search. Then type ‘ms-settings:sound’ and press ‘enter’. You can select the audio output on the screen that appears. If you have already done this or if it didn’t solve your problem, you can look at the solutions below.
Updating the audio driver
The most common cause of the HDMI audio not working issue is usually an outdated audio driver. To update it, go to the ‘Device Manager’. You can reach it by searching from the search bar next to the Windows icon.
Then, in the Device Manager, select the speaker from the audio settings section and right-click. Then click on the ‘Update driver’ option that appears. This process is one of the possible solutions for the HDMI audio issue.
Restarting Windows Audio service
If the driver update did not solve the problem, restarting the ‘Windows Audio’ service can resolve the issue. Type ‘Run’ in the Windows search bar and search. Then type ‘services.msc’ and press ‘enter’. When the Services tab appears, right-click on ‘Windows Audio’ and select ‘Restart’. If this process also doesn’t solve the HDMI audio issue, you can try the following step.
Updating the graphics card
Updating your graphics card driver may fix the audio problem. Sometimes this can be related to the audio driver, and the problem can be resolved by updating it.


