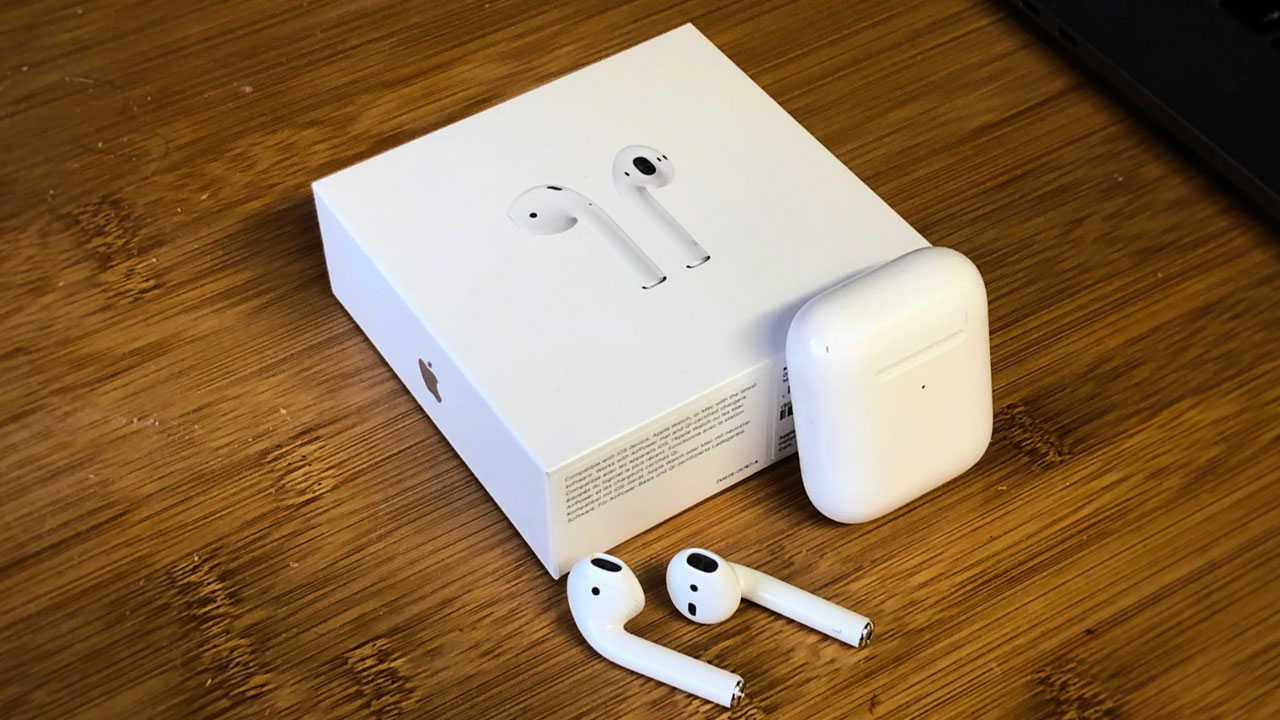
Apple created a large ecosystem for technological devices. When you purchase Apple devices, you can connect them. Also, Apple’s devices could be the most popular in the market including, iPhone, iPad, Mac, and AirPods. Apple produced the AirPods to seamlessly connect to your iPhone, iPad, and mac. While it is a simple process to connect your device to an iPhone, you can still learn if you don’t know how to do it. Here are the details about how to connect your AirPods to an iPhone.
Pair your AirPods and iPhone
The connection between an AirPods and iPhone is like all the other Bluetooth devices. If you would like to connect your AirPods to an iPhone, you can easily pair them. However, there are a few things you need to know before trying to connect. The most significant thing is to be sure that you have Bluetooth turned on. If you don’t know how to turn it on, go to Settings > Bluetooth and turn the slider next to Bluetooth to green.

Connect your AirPods to your iPhone
Before starting to connect your earbuds to your phone, make sure that your iPhone runs with the latest version of iOS. Then, you can learn with these steps how to connect AirPods to an iPhone.
Apple explains on its support page:
- Go to the Home Screen.
- With your AirPods in the charging case, open the charging case, and hold it next to your iPhone. A setup animation appears on your iPhone.
- Tap Connect.
- If you have AirPods Pro (1st or 2nd generation) or AirPods (3rd generation), read the next three screens.
- If you have AirPods Pro (1st or 2nd generation) or AirPods (2nd or 3rd generation) and you set up “Hey Siri” on your iPhone already, then “Hey Siri” is ready to use with your AirPods. If you haven’t set up “Hey Siri” already, and you have AirPods Pro (1st or 2nd generation) or AirPods (2nd or 3rd generation), you’ll be guided through the setup.
- Tap Done.
- If you’re signed in to iCloud, your AirPods are set up automatically with any of your supported devices that are signed in to iCloud with the same Apple ID.
When you connect your AirPods to your iPhone, they will automatically reconnect every time. If you want to use your AirPods, you just need to put them in your ears. You will see a small notification at the top of your screen that says, “****’s AirPods Connected.”

How to manually connect your AirPods to an iPhone
If you tried to connect your AirPods to your iPhone automatically, and it didn’t work, you can try to pair them manually. You need to put your AirPods in their case and close it. Then, you have to open the case next to your iPhone, and press and hold the button on the back of the case. After pressing for up to 10 seconds, you will see the status light on the front of the charging case that should flash white. Then, you can understand that your AirPods are ready to connect.
What to do when your AirPods won’t connect
There are a few things if your AirPods don’t connect to your device.
- Turn Bluetooth on and off: This is the easiest way to try connecting. You can turn Bluetooth off, wait a few seconds, and turn it on again. To turn your Bluetooth off, go to Settings > Bluetooth and tap the slider next to Bluetooth.
- Switch the audio output on your iPhone to your AirPods: If you have another Bluetooth device near you, your iPhone may have connected to this device instead of your AirPods. You can switch your audio output on your iPhone, open the Control Center and tap the AirPlay button. Then, you will see the list of audio outputs, select your AirPods on this list.
- Reset your AirPods: This is the last step to try connecting your AirPods. When you factory reset your AirPods, it will remove all the data in your AirPods. To reset your AirPods, go to Settings > Bluetooth and tap the “i” to the right of your AirPods’ name. Then select Forget this Device.
- Update your iPhone: Apple wants you to keep your devices always updated. Therefore, the reason that your AirPods don’t connect could be the version of iOS. To update your iPhone, go to Settings > General > Software Update. Then, tap Download and Install if there is an update available.


