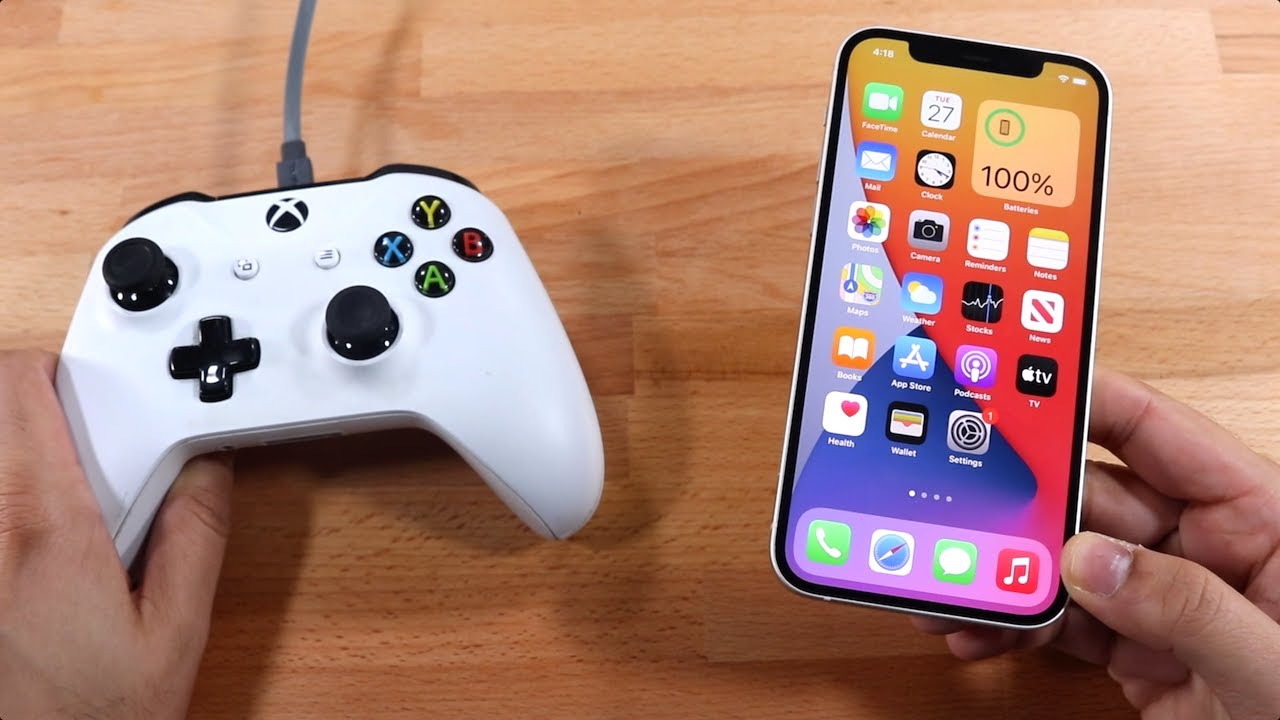
Connecting an Xbox controller to an iPhone can be a great way to improve your mobile gaming experience. Whether you’re playing a game that supports controller input or using a controller to play a game that was designed for touchscreen controls, having a physical controller can make the experience more comfortable and immersive.
How to connect Xbox controller to iPhone
To connect an Xbox controller to your iPhone, you’ll need a few things. An Xbox controller that supports Bluetooth. Not all controllers have Bluetooth, so check to make sure that yours does before you start.In order to connect your controller to your iPhone, you’ll need to make sure that your iPhone’s Bluetooth is turned on. You can do this by going to the Settings app, selecting Bluetooth, and making sure the toggle switch next to Bluetooth is in the “on” position.
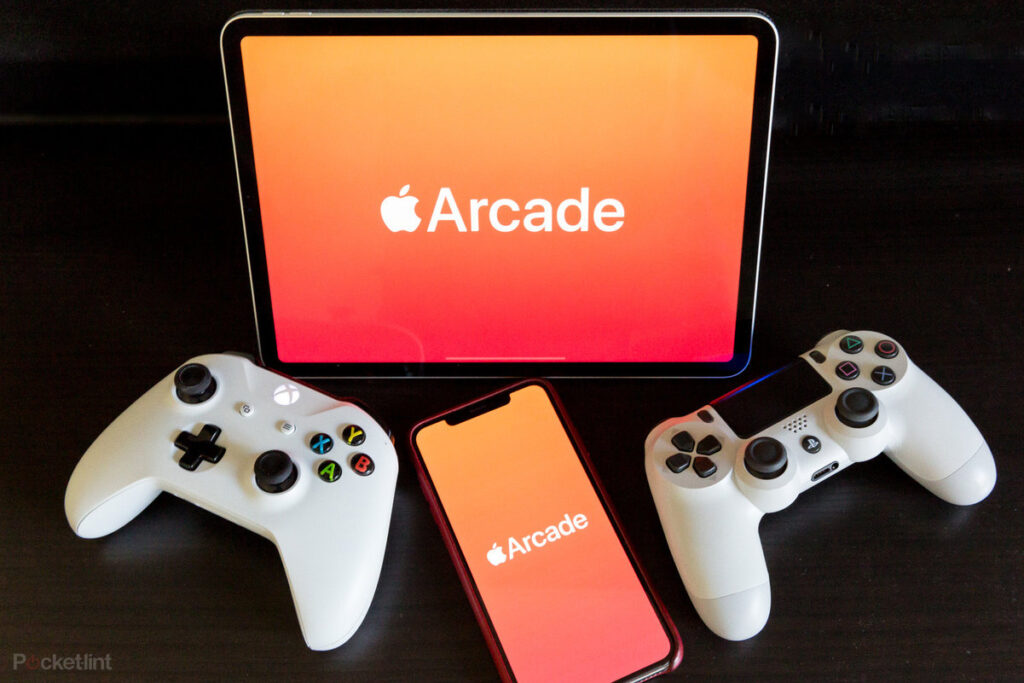
Once you have everything you need, follow these steps to connect your Xbox controller to your iPhone:
- Turn on your Xbox controller by pressing the Xbox button on the front. The Xbox button will start to flash, indicating that it is in pairing mode.
- On your iPhone, go to the Bluetooth settings page and select the option to pair a new device. Your iPhone will start scanning for nearby Bluetooth devices.
- Once your iPhone has found your Xbox controller, select it from the list of available devices.
- Your iPhone will ask you to enter a PIN to complete the connection. The PIN should be displayed on your Xbox controller’s screen. Enter the PIN on your iPhone and select “Pair” to complete the connection.
- Once your controller is connected, you can use it to play games on your iPhone. Some games will automatically detect and support controller input, while others may require you to manually enable controller support in the game’s settings.
That’s all there is to it! With a little bit of setup, you can easily connect an Xbox controller to your iPhone and enjoy a more comfortable and immersive gaming experience.


