
How to Enable NFC on iPhone: A Step-by-Step Guide

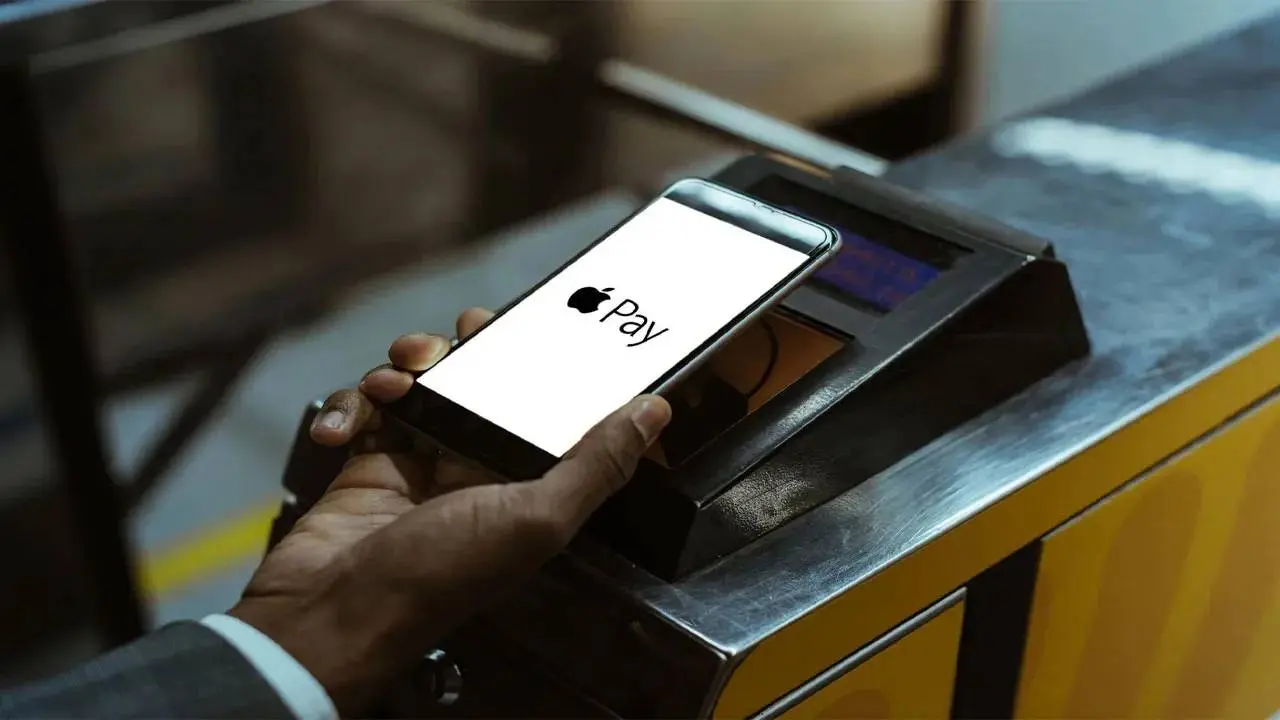
Many iPhone users frequently ask how to enable NFC on their devices to utilize contactless payments, identity verification, and tag scanning. Unlike Android smartphones, which often feature a dedicated toggle in the settings menu, iPhone NFC functionality operates differently depending on the specific model. On modern handsets, the system manages the near-field communication technology automatically, requiring no manual intervention from the user. For older devices like the iPhone 7, 8, or X, users must add a shortcut to the Control Center to activate the sensor manually. This guide outlines the essential steps for managing NFC features across various Apple mobile devices.
- Modern iPhone models manage NFC functionality automatically without requiring manual activation settings.
- Older device owners must add the NFC Tag Reader shortcut to the Control Center.
- Users should position the device near the tag or terminal to initiate the communication process.
- Troubleshooting NFC issues usually involves restarting the device or adjusting the physical positioning of the phone.
Modern iPhone Models Manage NFC Automatically
For users operating newer generations of iPhone devices, the NFC feature is integrated directly into the iOS system. Because the software is designed to detect compatible tags and payment terminals spontaneously, there is no “NFC On” switch located within the standard Settings application. As long as the specific application or service you are utilizing supports NFC, the hardware will engage the moment it detects a relevant signal. This seamless integration ensures that users do not need to navigate complex menus to perform secure transactions or read data from smart tags.
Older Models Require a Control Center Shortcut
If you are using an older iPhone model, such as the iPhone 7, 8, or X, you must manually enable the NFC Tag Reader through the Control Center. To begin this process, navigate to the Settings app and select the Control Center menu. From the available list, locate the NFC Tag Reader option and tap the plus symbol to include it in your active controls. Once added, you can access the Control Center by swiping from the top corner or the bottom of your screen, then tapping the NFC icon to activate the scanner for immediate use. 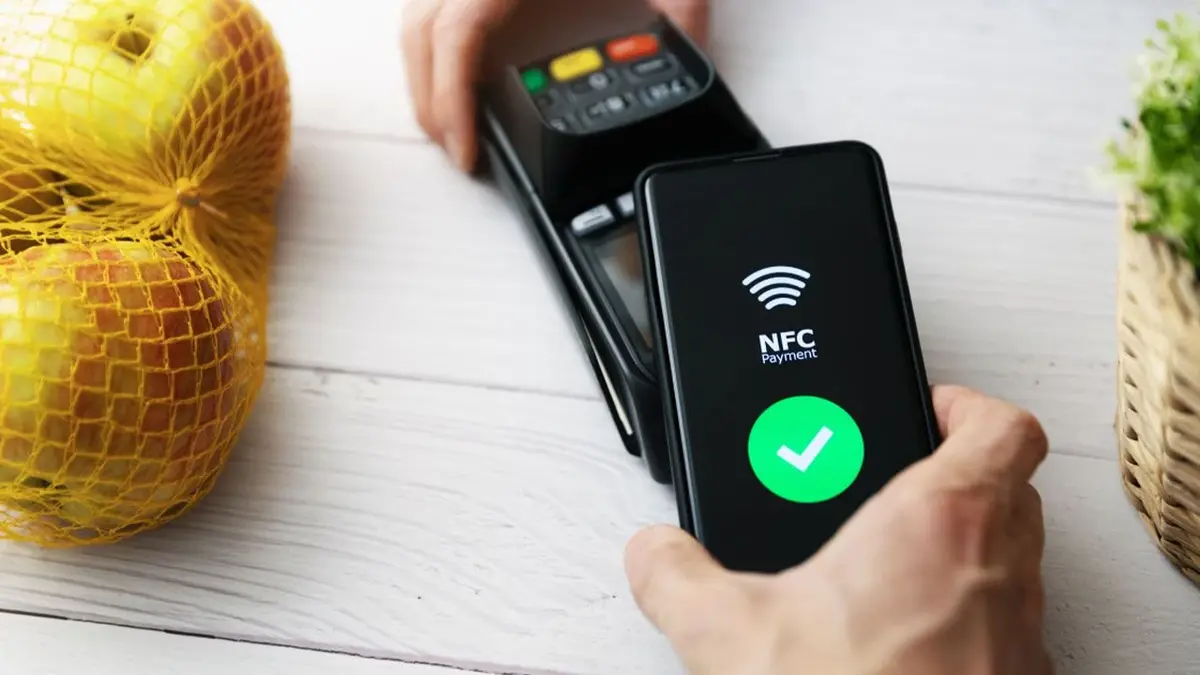
Users Must Follow Proper Scanning Procedures
To successfully utilize NFC features, you must first confirm that your specific iPhone hardware supports the technology. When attempting to read a tag or complete a payment, hold the upper edge of your iPhone in close proximity to the compatible device or tag. Once the connection is established, a notification will appear on your display. Tap this notification to proceed with your intended operation. If the device fails to detect the signal, ensure that you are holding the phone at the correct angle and that the service you are attempting to access is fully compatible with your current iOS version.
Hardware Issues Are Resolved Through Simple Troubleshooting
If your iPhone persistently refuses to read NFC tags, you should prioritize physical troubleshooting steps. Start by performing a system restart to clear any temporary software glitches that might be interfering with the sensor. If the issue remains, try adjusting the proximity of the device, as even a few millimeters can impact the strength of the connection. Additionally, verify that the tag or terminal you are attempting to scan is functional. If the hardware remains unresponsive despite these efforts, ensure your device is not encased in a thick, metallic protective cover that could block the signal.
Have you experienced any difficulty setting up or using NFC features on your Apple device, or do you have a favorite tip for making the process smoother? Please share your experiences and questions in the comments section below to help other users in the community.
Your comment has been submitted,
it will be published after approval.