If you want to use Microsoft Copilot in Windows 11 but somehow cannot use it, you can solve the situation immediately with this detailed guide we have prepared. Let’s move on to our guide where we answer the question of how to enable Copilot.
How to enable Copilot even if it is not allowed in Windows 11?
Step 1: Create a random shortcut

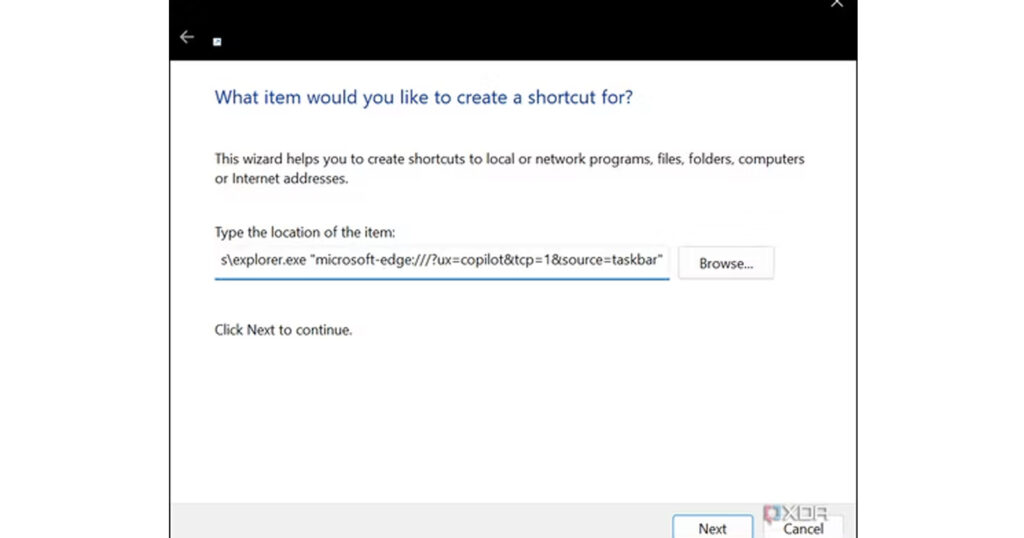
1. Right-click anywhere in a folder or on your desktop
2. Go to “New” and select “Shortcut”.
3. In the field that appears, enter the following location: `C:\Windows\explorer.exe “microsoft-edge:///ux=copilot&tcp=1&source=taskbar”`.
4. Set a name for the shortcut (like Copilot.exe)
5. Confirm and continue.
6. (Optional) Choose an icon for your shortcut; you can convert the Microsoft Copilot logo to an .ico file using an online converter.
7. Click OK and finalize your settings.
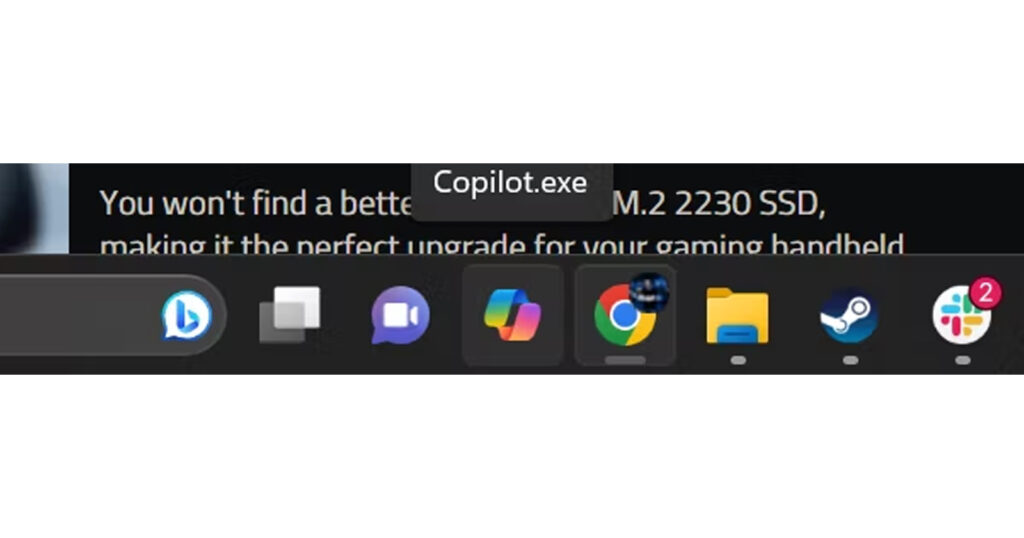
Step 2: Add the shortcut to your taskbar

Drag the created shortcut to your taskbar for easy access. This will allow you to open Copilot at any time by clicking on the shortcut.
Step 3: Add key combination for Copilot (Optional)

You can further increase the functionality by assigning a hotkey to open Copilot:
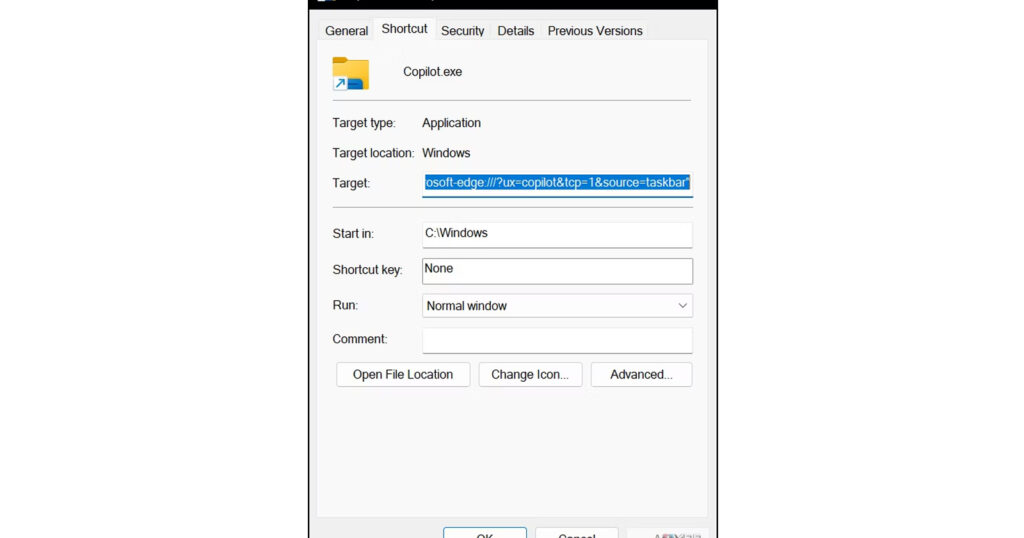
1. Right-click the shortcut and open properties.
2. Click in the Shortcut key box.
3. Set a key combination to open Copilot by pressing the desired key combination (you can use any combination except the Windows key+C combination).
This is how to enable Copilot in Windows 11. If you have done all the steps correctly, you should be able to access Copilot without any problems. Note that this is not the built-in Copilot app, but activates the Copilot plugin in the Edge browser.
To use Copilot, which is built into Windows 11, you can either become a Windows Insider or wait for the feature to go live.
You can further customize the shortcut according to your preferences and access Microsoft Copilot on your Windows 11 system. What do you think? Please don’t forget to share your thoughts with us in the comments.


