Windows 11 users can easily record audio by following a few simple steps without needing to download third-party programs. The built-in app, Sound Recorder, can be used for this purpose. Here’s how to record audio on Windows 11:
How to Record Audio on Windows 11?
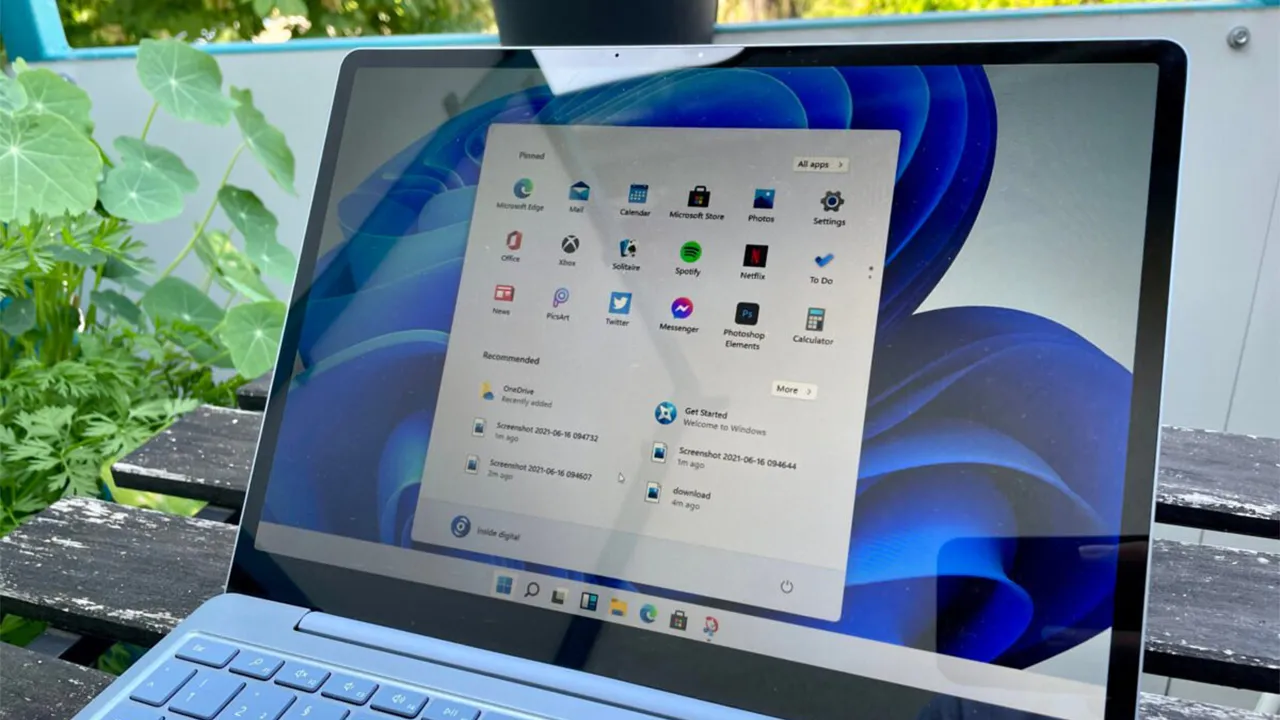
To record audio on Windows 11, you can use the Sound Recorder app provided by Microsoft. It’s free, simple to use, and has the necessary features for basic recording.
Step-by-Step Guide:
- Open the Sound Recorder app:
- Type “Sound Recorder” into the Windows search bar and select the first app from the list.
- Choose your microphone:
- When the app opens, click on the microphone icon in the lower-left corner of the screen to select the microphone you want to use.
- Start recording:
- After selecting the microphone, press the red record button at the bottom of the screen to begin recording. The app will start capturing audio once you click this button.
- Pause or stop the recording:
- If you need to pause the recording, click the “Pause” button. To stop the recording entirely, click the “Stop” button.

Nvidia RTX 50 series graphics cards perform worse than older GPUs in 32-bit PhysX games. Here are the details.
Once your recording is finished, you can view it on the left sidebar where your recordings are listed. You can listen to them anytime by clicking on them. If you want to share your recording, right-click on the file and select “Show in Folder.” This will open the folder where your file is located, and from there, you can move it or share it.
For more advanced audio editing, software like Audacity might be better. However, for simple voice recording, Windows 11’s Sound Recorder app is more than sufficient. Its user-friendly interface and straightforward features make it an ideal solution for most users.
What do you think about this? Feel free to share your thoughts in the comments below!