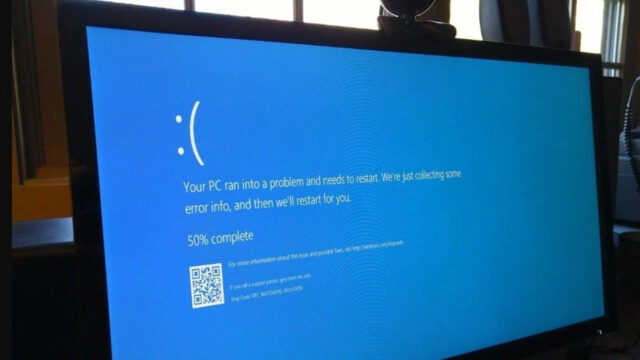
If your Windows system is crashing, or some functions are not working as expected, you might need to repair corrupted or missing system files. The System File Checker (SFC) tool can scan your Windows installation and restore these files. While it may seem technical, follow this step-by-step guide to run the tool successfully.
Step 1: Prepare to Run the System File Checker
Before running the SFC tool, ensure you have an elevated command prompt (a Command Prompt with administrator privileges). The steps differ slightly depending on your Windows version.
For Windows 10, Windows 8.1, or Windows 8:
- Open an elevated Command Prompt:
- Press Windows + X and select Command Prompt (Admin) or Windows PowerShell (Admin) from the menu.
- Run the Deployment Image Servicing and Management (DISM) tool to prepare your system:
- Type the following command and press Enter:
DISM.exe /Online /Cleanup-image /Restorehealth - This process can take several minutes. Ensure you stay connected to the internet, as DISM uses Windows Update to fetch necessary files.
DISM.exe /Online /Cleanup-Image /RestoreHealth /Source:C:\RepairSource\Windows /LimitAccessReplaceC:\RepairSource\Windowswith the path to your repair source (e.g., a Windows installation DVD or network share). - Type the following command and press Enter:
For Windows 7 or Windows Vista:
Skip directly to Step 3, as DISM is not required for these versions.
Step 2: Run the System File Checker Tool
- In the elevated Command Prompt, type the following command and press Enter:
sfc /scannow - Wait for the verification to complete. Do not close the Command Prompt window until the process reaches 100%.
- The SFC tool will scan all protected system files and replace corrupted files with a cached copy stored in
%WinDir%\System32\dllcache. %WinDir%refers to your Windows installation folder (e.g.,C:\Windows).
- The SFC tool will scan all protected system files and replace corrupted files with a cached copy stored in
Step 3: Review the Results
After the scan finishes, the tool will display one of the following messages:
1. No Integrity Violations Found
- Message: “Windows Resource Protection did not find any integrity violations.”
- No further action is needed; your system files are intact.
2. SFC Could Not Perform the Requested Operation
- If this occurs, try running the scan in Safe Mode:
- Restart your computer.
- Press F8 or the key specified by your system during boot to access Safe Mode.
- Repeat Step 2 in Safe Mode.
3. Corrupt Files Repaired
- Message: “Windows Resource Protection found corrupt files and successfully repaired them.”
- You can view more details about the repair process in the log file:
%WinDir%\Logs\CBS\CBS.log
4. Corrupt Files Found but Not Repaired
- Message: “Windows Resource Protection found corrupt files but was unable to fix some of them.”
- To resolve this:
- Open the CBS log to identify the problematic files:
%WinDir%\Logs\CBS\CBS.log - Manually replace the corrupted files with a known good copy.
- Open the CBS log to identify the problematic files:
Conclusion
By following these steps, you can use the System File Checker tool to identify and repair system file issues. If problems persist after attempting these repairs, consider seeking additional support or using a backup to restore your system.


