How to take a screenshot on a Mac computer

Taking a screenshot is a simple action that we often need when we’re at the computer. There are certain hotkey combinations you can follow on your keyboard to take a screenshot. You can take a screenshot of the whole screen or just part of it. So, in this article, we will explain how you can take screenshots on Mac computers.
How to take a screenshot of the entire screen
When it comes to the Mac, the options for screenshot tools are limited to one. To take a picture of the entire screen on your Mac, simply press Command + Shift + 3. When you press these three keys in sequence, your computer will make an automatic clicking sound. After this sound, a preview of the full-page screenshot will appear in the bottom right corner of your screen. Also by clicking on the preview, you can open the image application with a toolkit for editing, saving, and sharing the image.

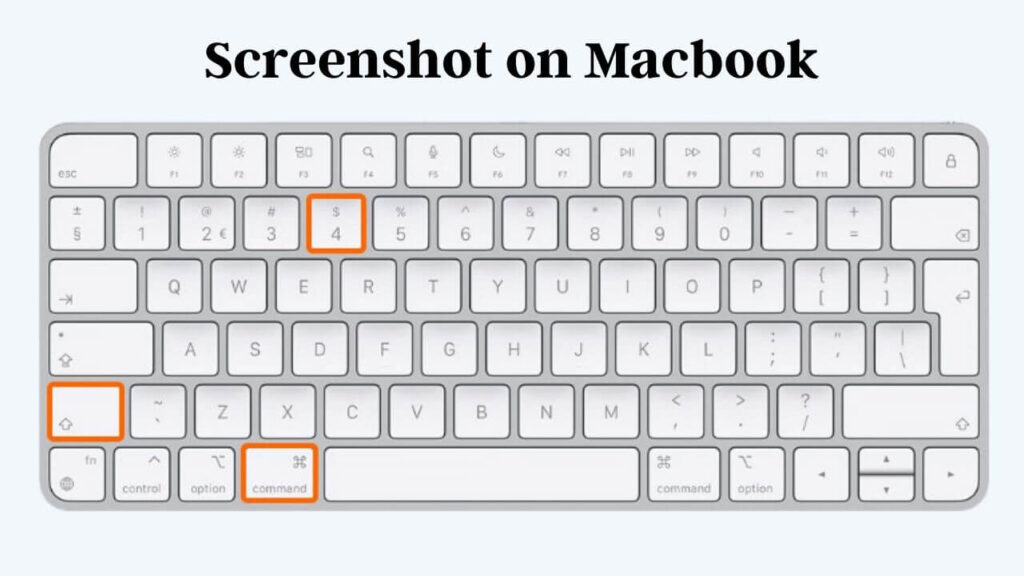
How to take a screenshot of part of the screen
Taking a screenshot of a part of the screen on your Mac has an almost identical shortcut to take a screenshot of the whole screen. Press Command + Shift + 4 on your keyboard and your mouse cursor icon will change to a + shaped marker with a circle around it. You can select the area you want to take a screenshot by holding down the left mouse button. When you lift your finger, a screenshot of the area will be taken automatically.
On your Mac, you can take a screenshot of a portion of your screen, or you can take a screenshot of a window of your choice. To do this, simply press Command + Shift + 4 + Space respectively. In this case, your cursor will turn into a camera icon. As you drag the cursor to whichever screen you drag it to, the area will automatically be covered with a light blue color.
Then will show you the window to take a screenshot of. To take a screenshot, simply click on the window you have selected. The screenshots you take on your Mac are automatically named with the date and saved on your desktop screen.
Your comment has been submitted,
it will be published after approval.